
In response to a post from a fellow Columbia 24 owner on Columbia Yacht Owners Association, here are a few photos I took back in July, 2011…
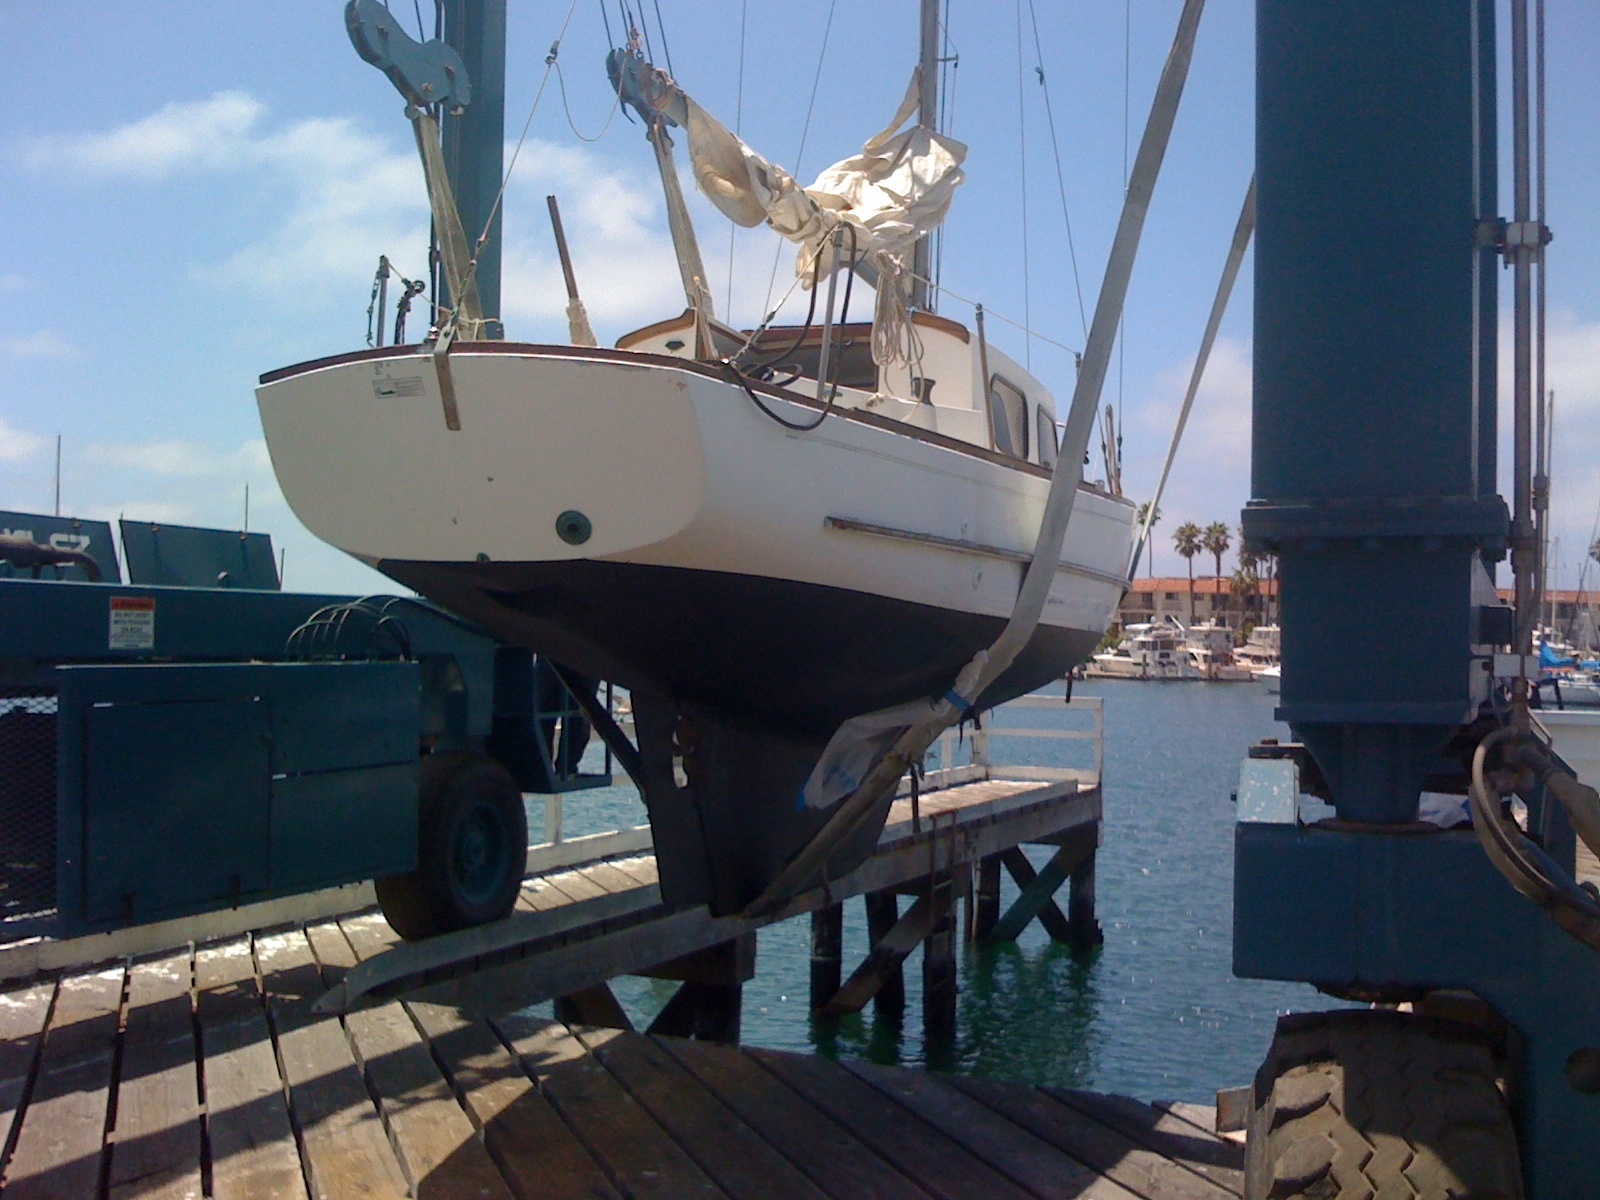
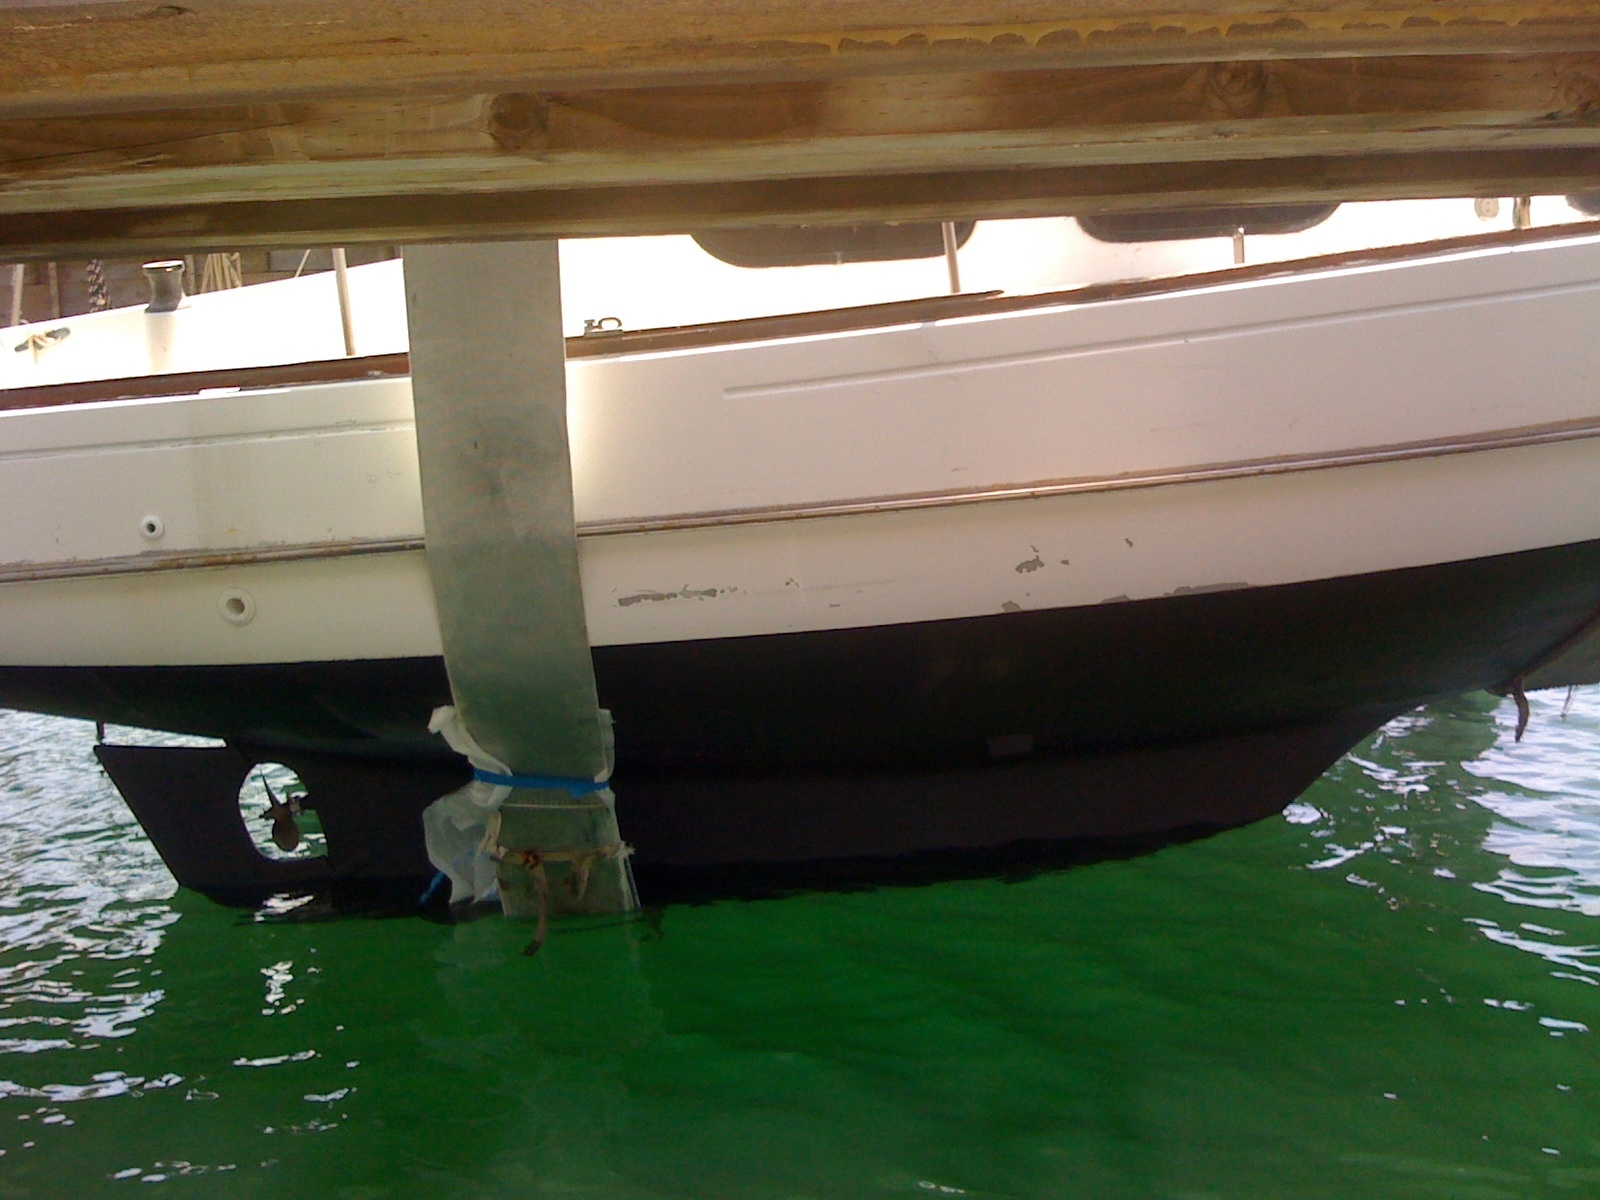
This is what I started with! I bought the sailboat for $800 without a survey and based on my own 20+ years of knowledge of these boats.
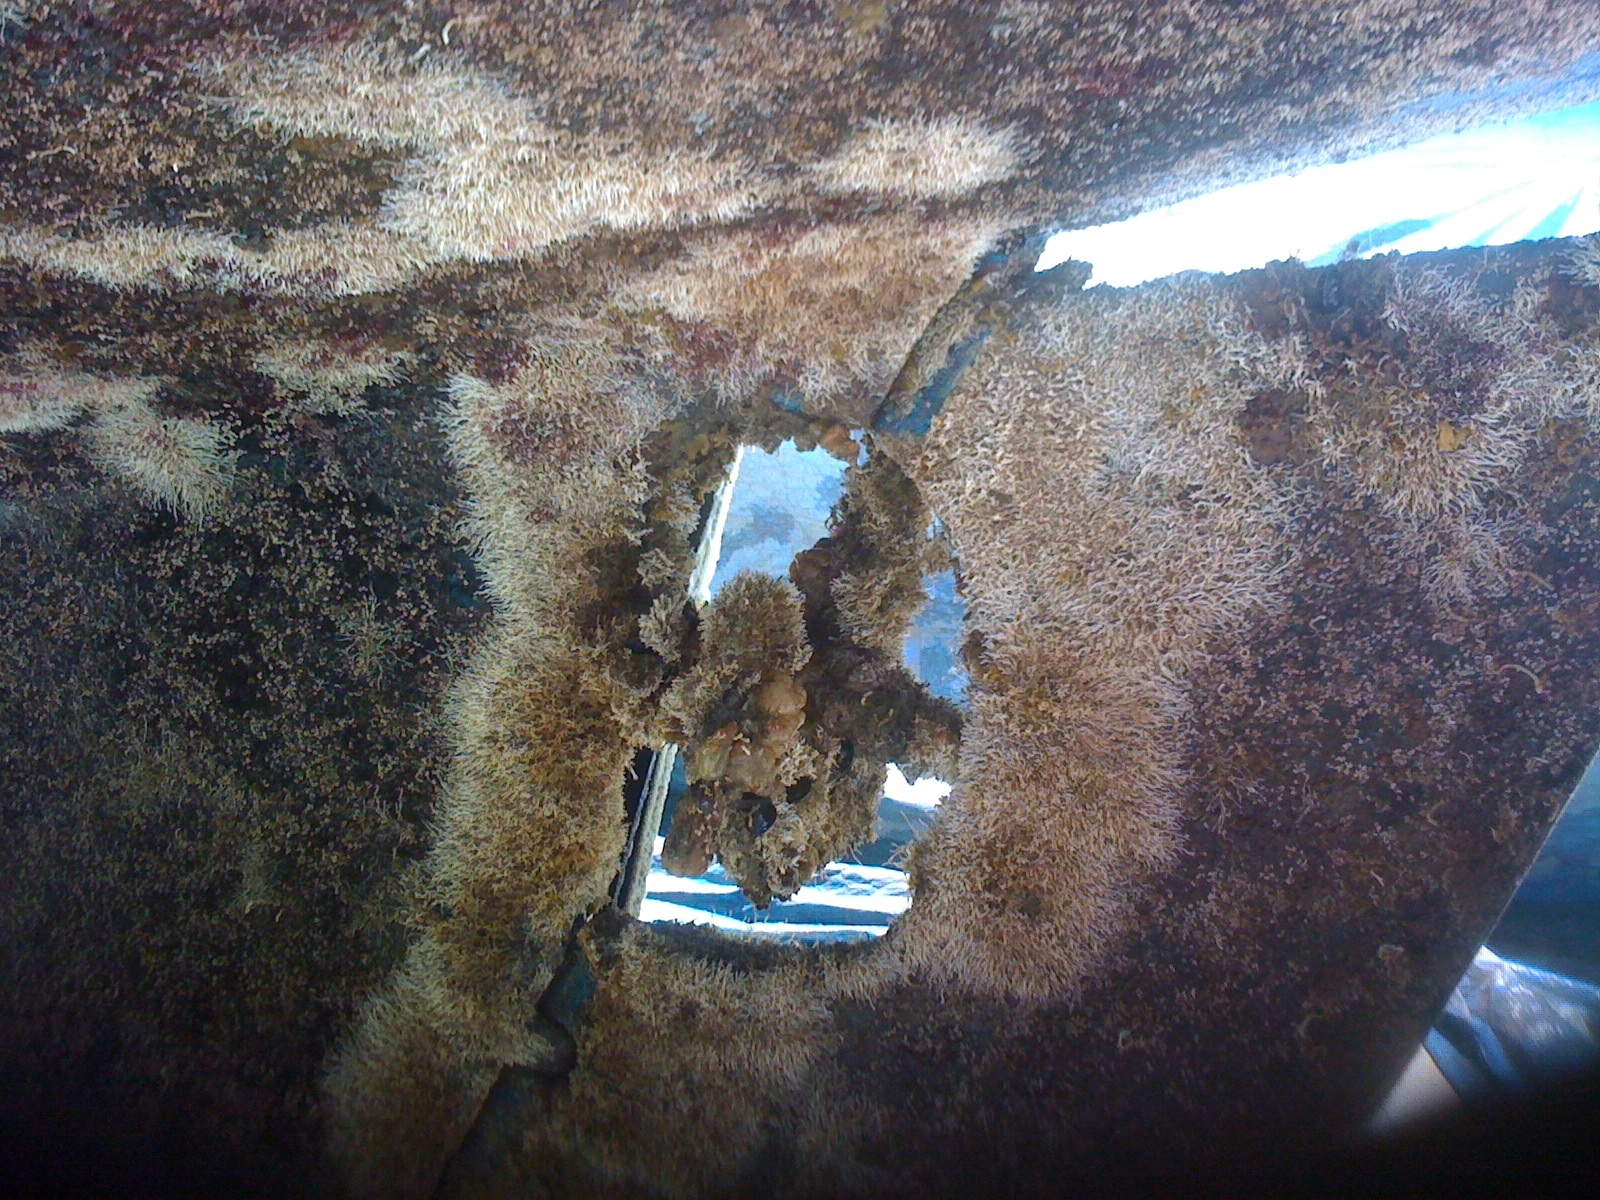
I half expected Bootstrap Bill to peel himself out of the growth and announce himself!
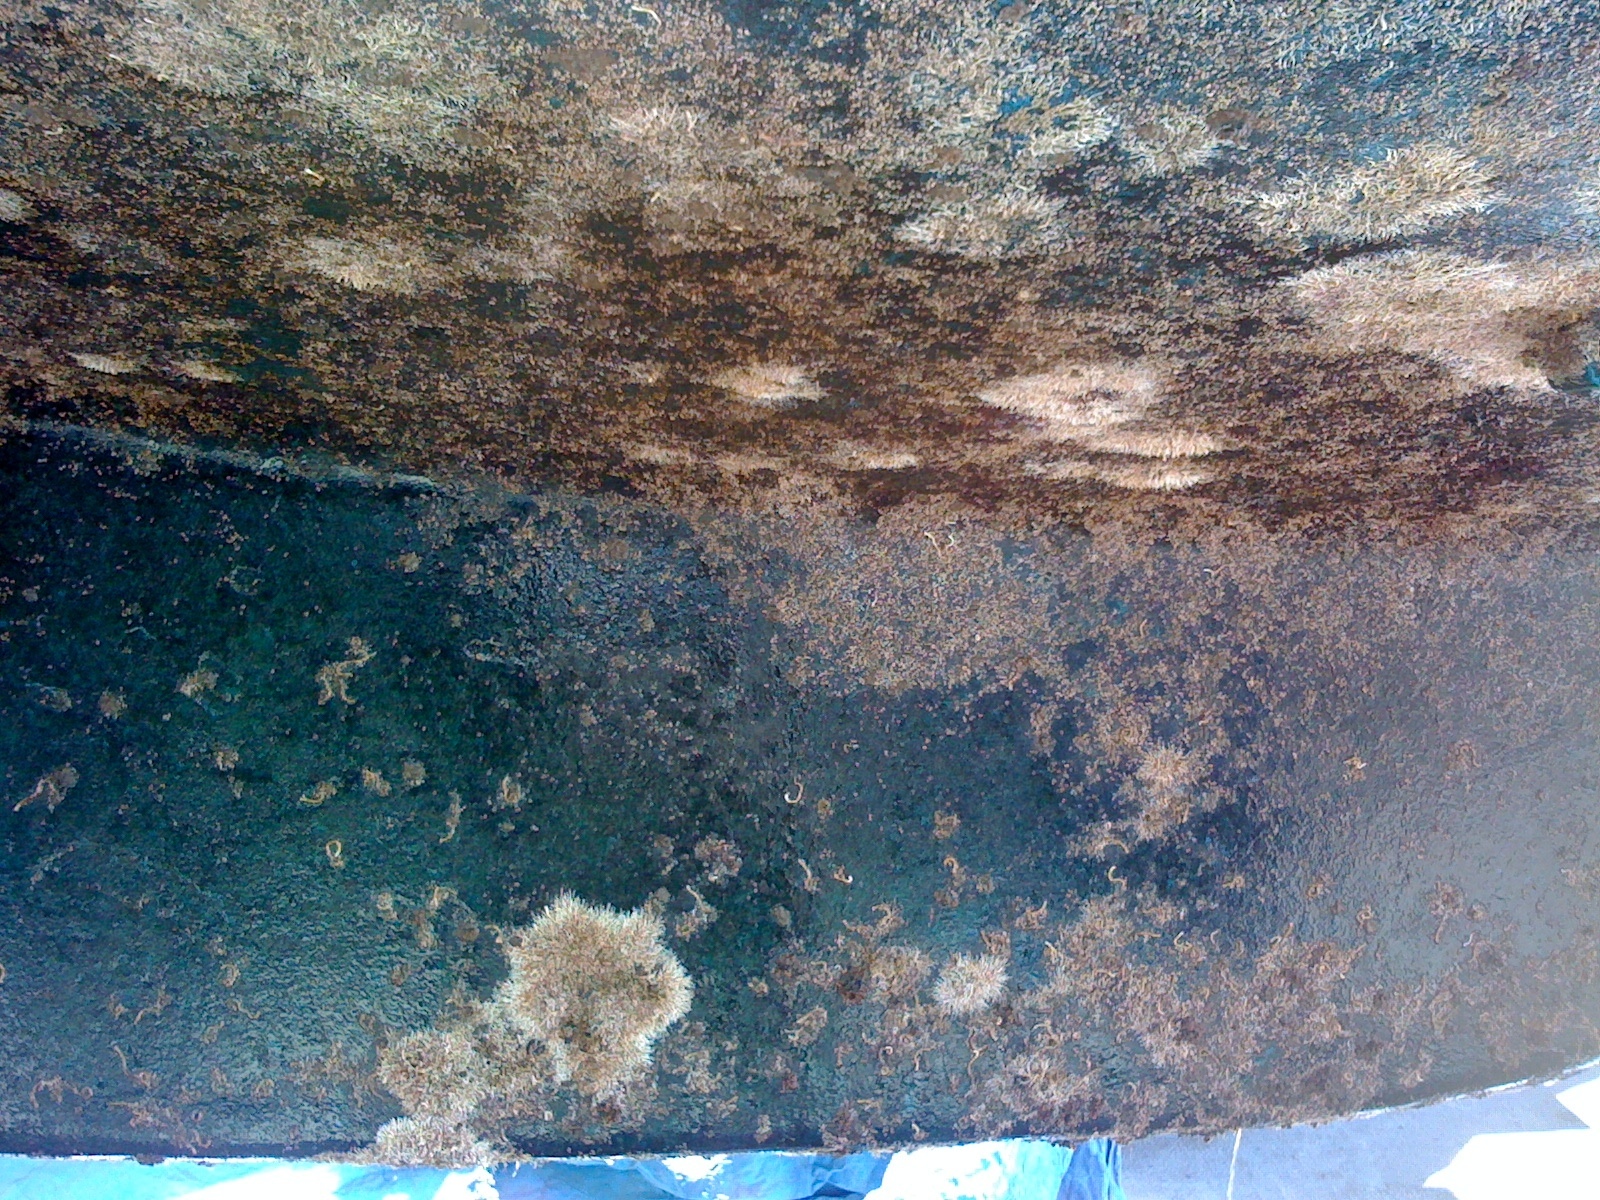
Then we power washed as much of the growth as possible… Which took about 45 minutes!
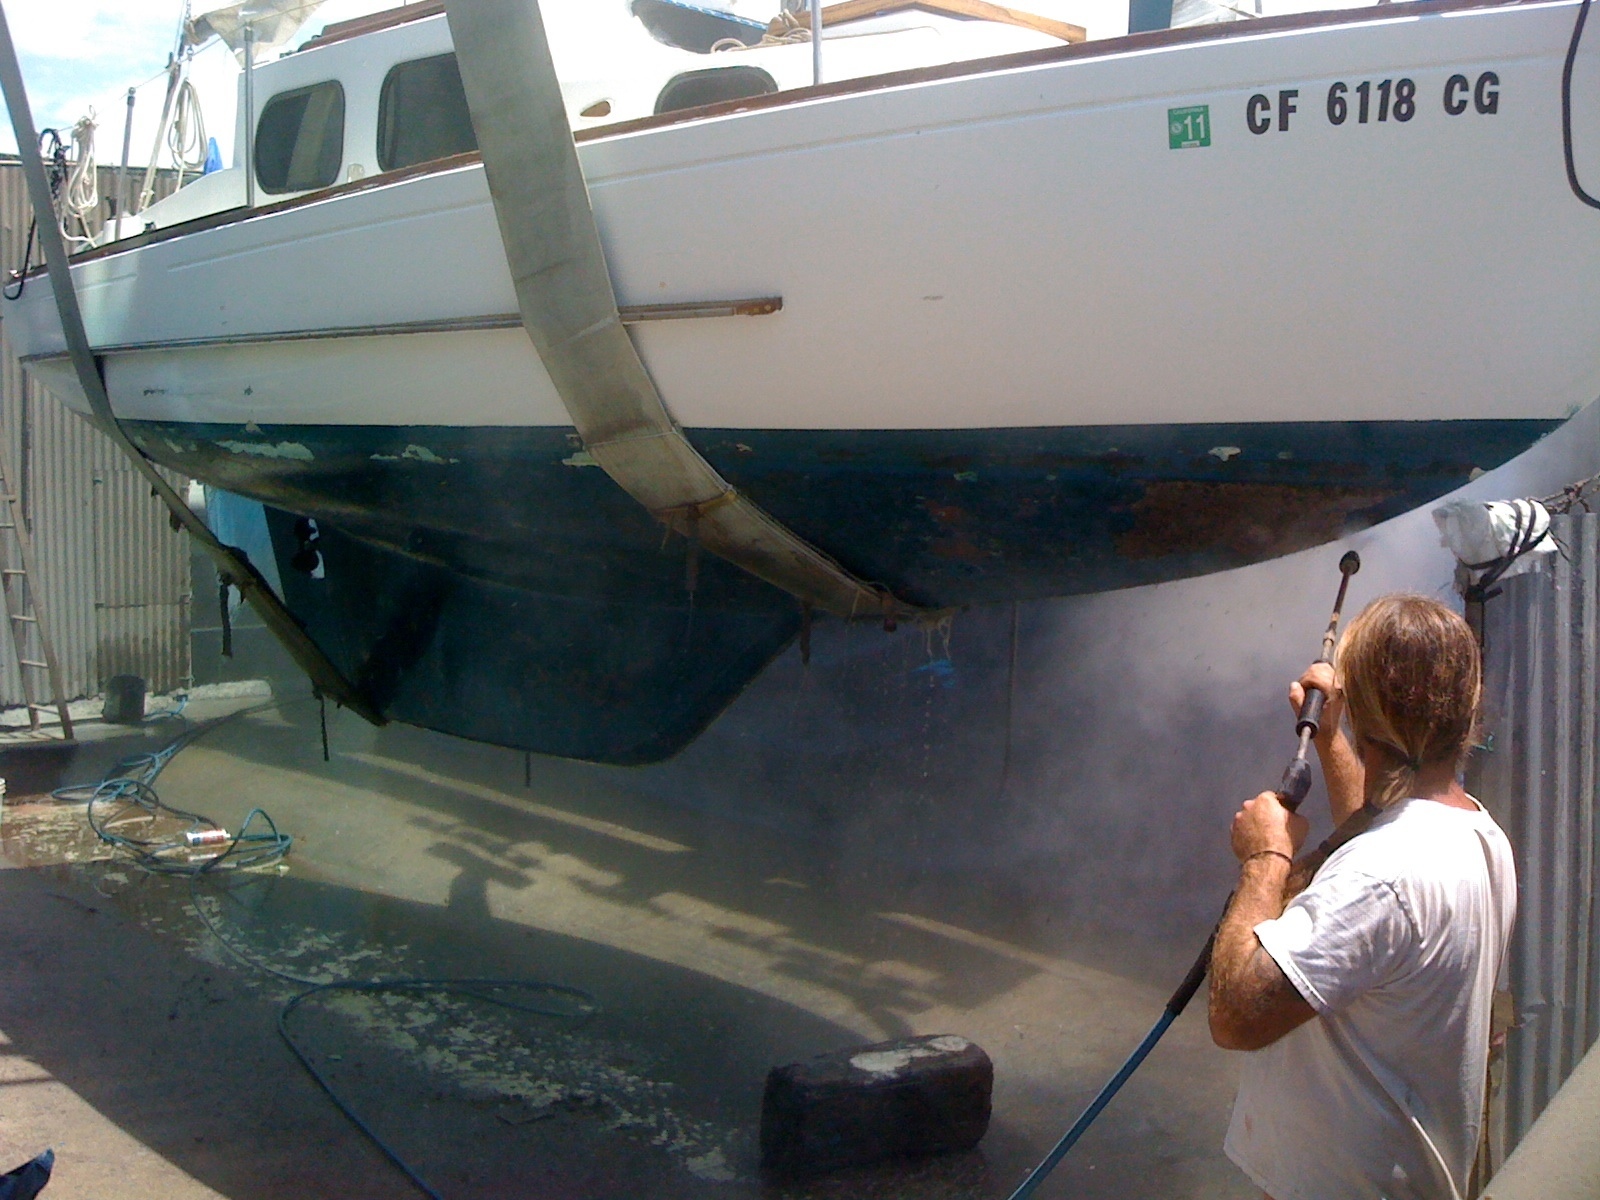
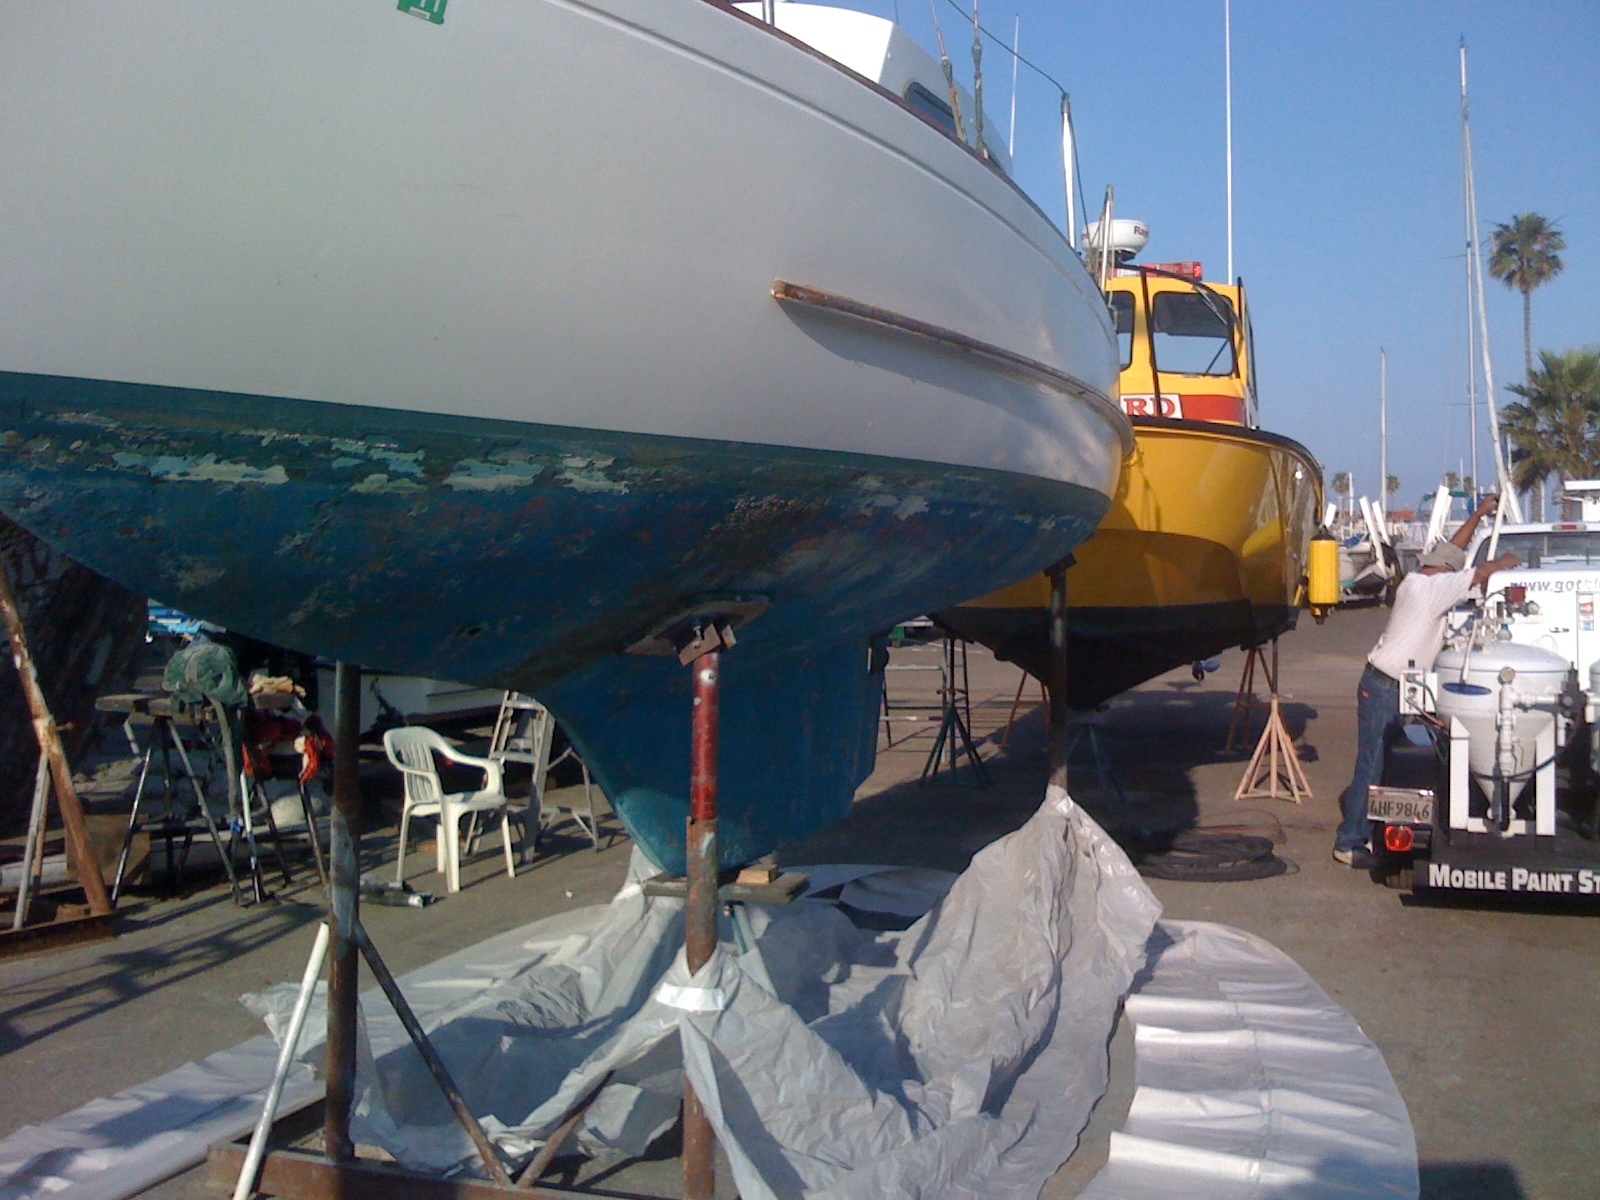
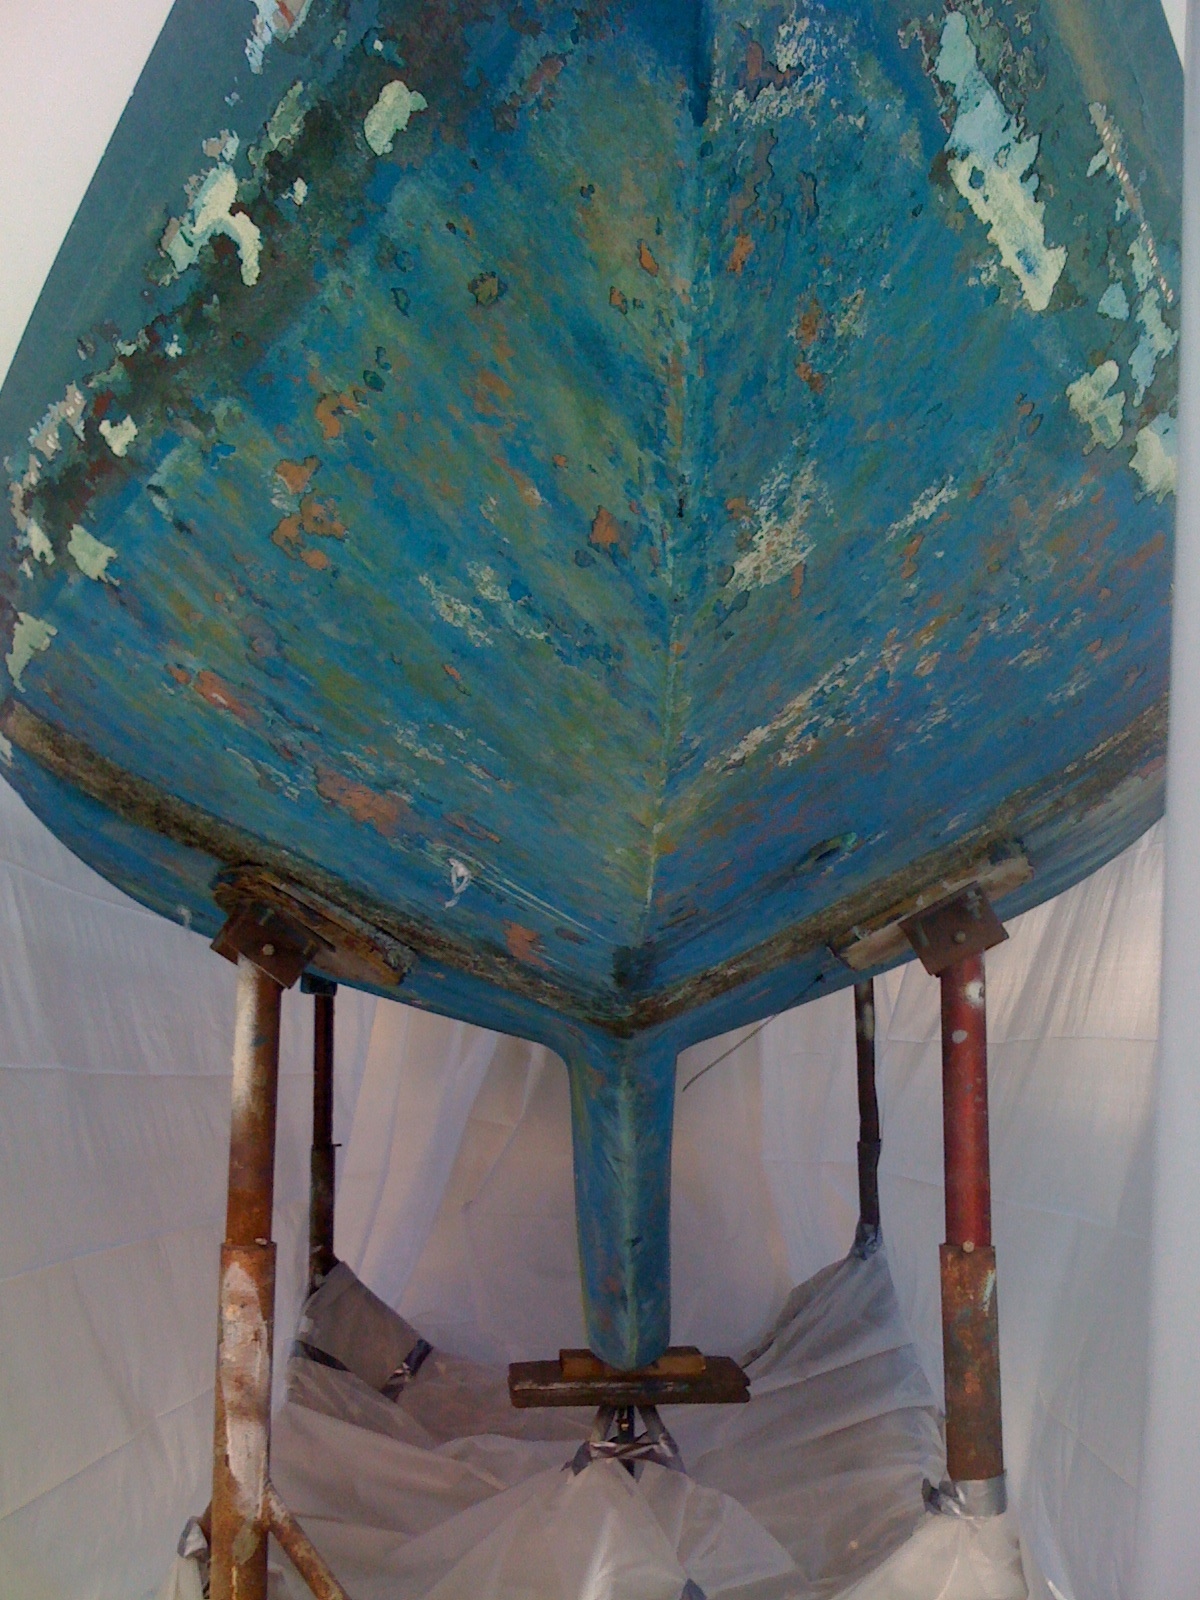
Here she is, cleaned down to reveal layer after layer of old bottom paint. Pitted, peeling, and oh so rough, doing a simple bottom job wouldn’t be wise. So, I decided on doing the soda blasting project. I wish you could see it, but the buildup of that paint, paint-over-the-old-stuff bottom job after bottom job was thick — thicker than a nickel in most places.

A couple of days later, the soda blasting team arrived and started prepping everything. Even though soda isn’t an issue, the ancient anti fouling paint certainly was…what chemicals did they use in the ’60s, the ’70s, or in the ’80s? Something nasty called TBT… If you have ancient bottom paint, safely get it off and start fresh.
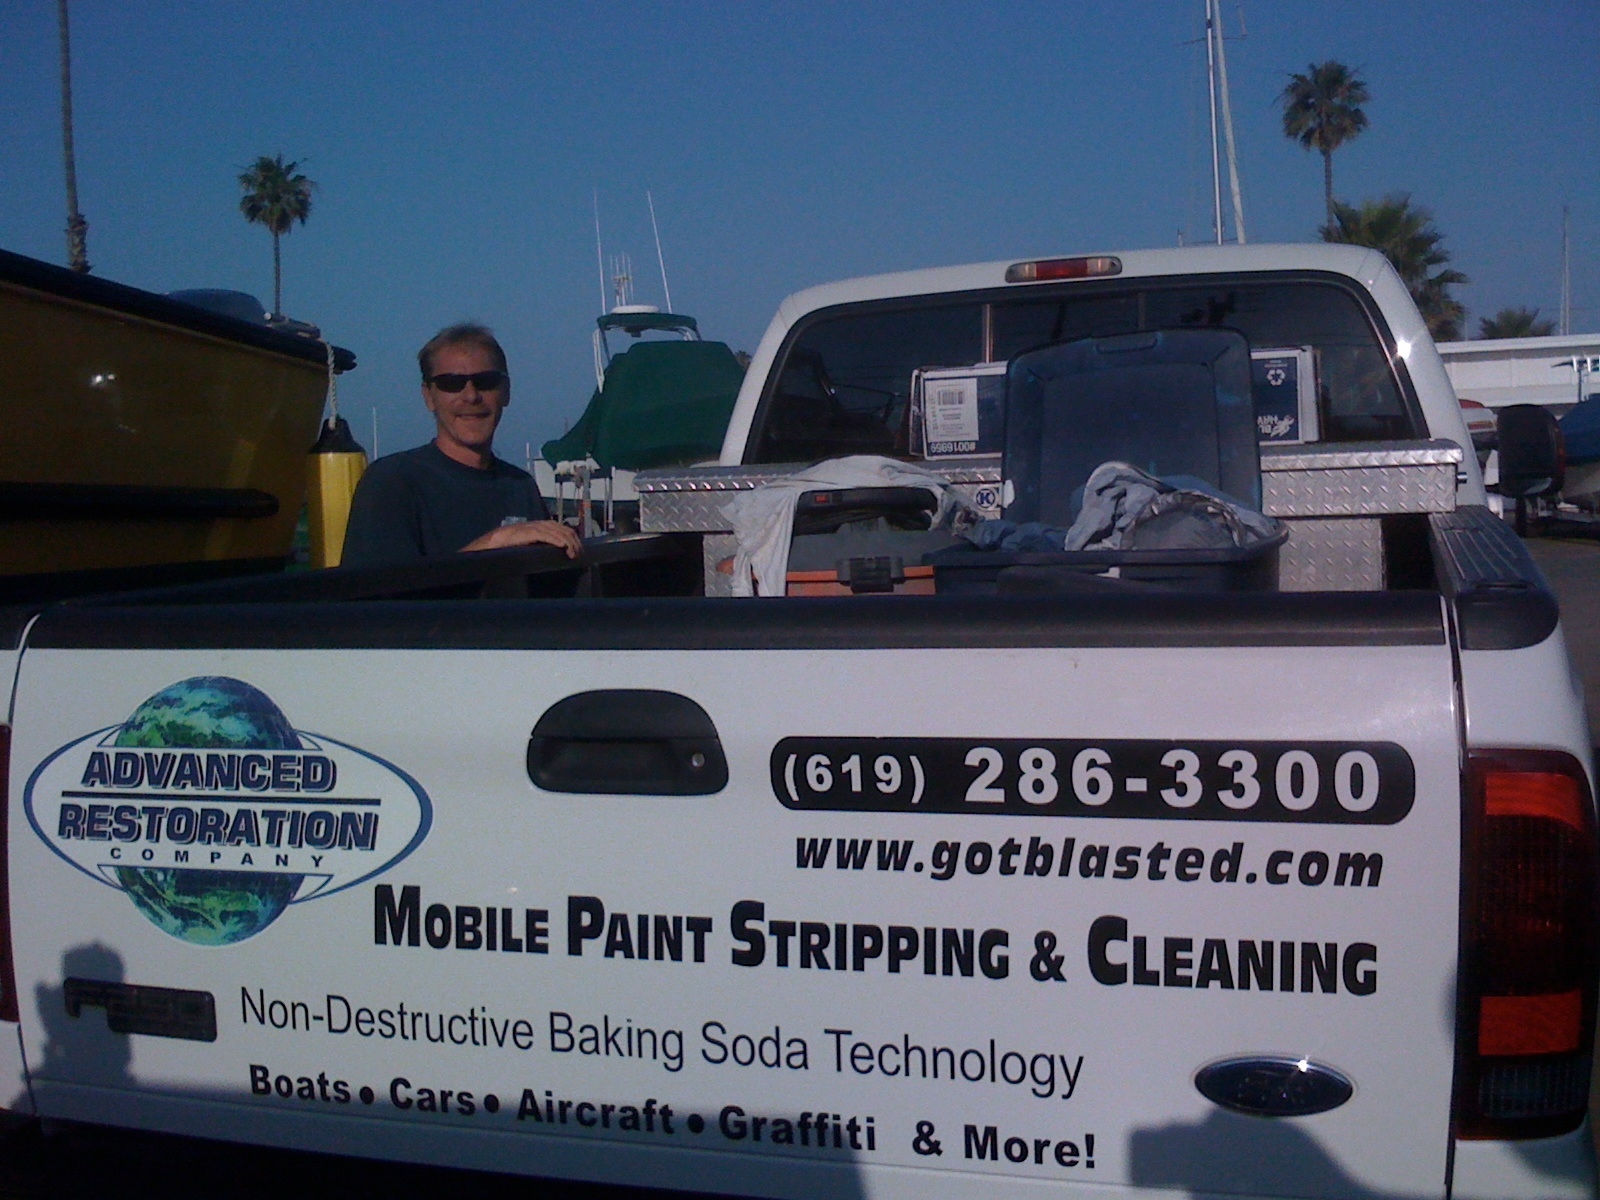
Here is Advanced Restoration’s Mobile Paint Stripping and Restoration setup. And for SEO, their website is GotBlasted.com and if you are in Southern California, you can call them at (619) 286-3300.

Okay, one last look at the “before.”
About four hours later, after they finished and cleaned up the work area of drop cloths and swept up and bagged – their estimate – 800 pounds of blasted baking soda and pulverized paint.

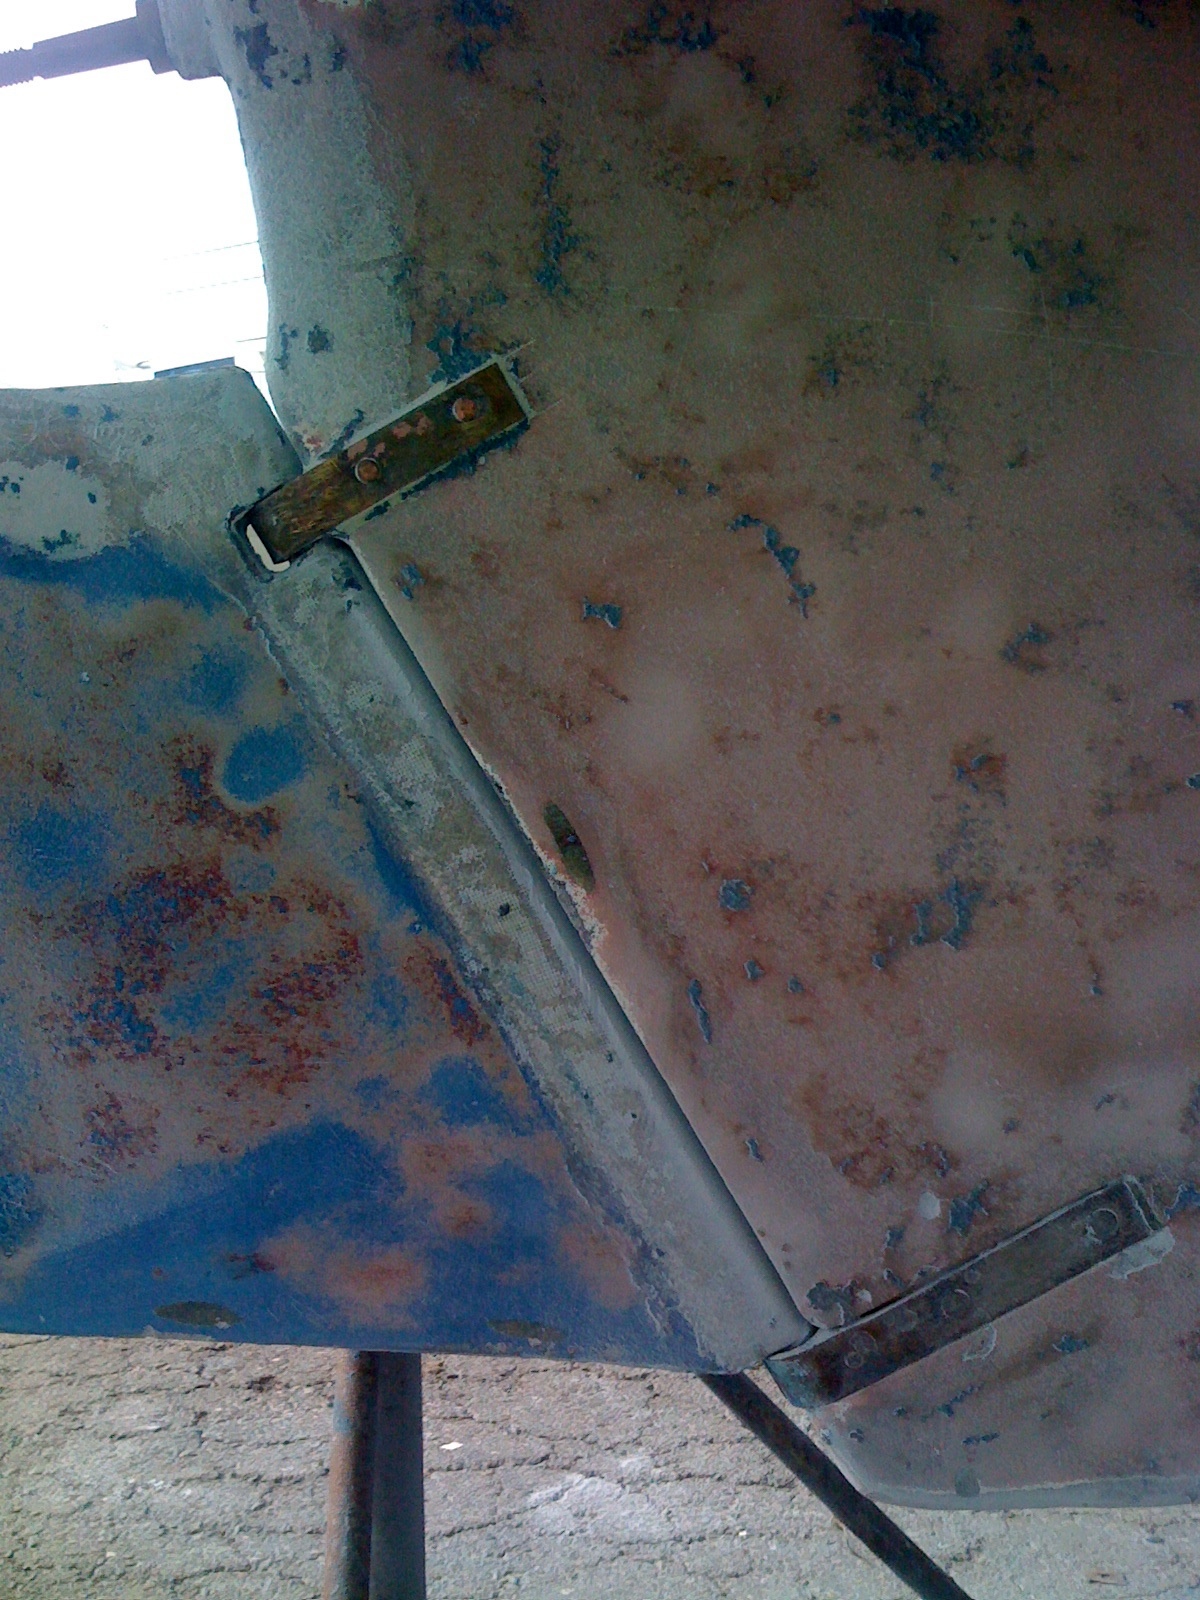
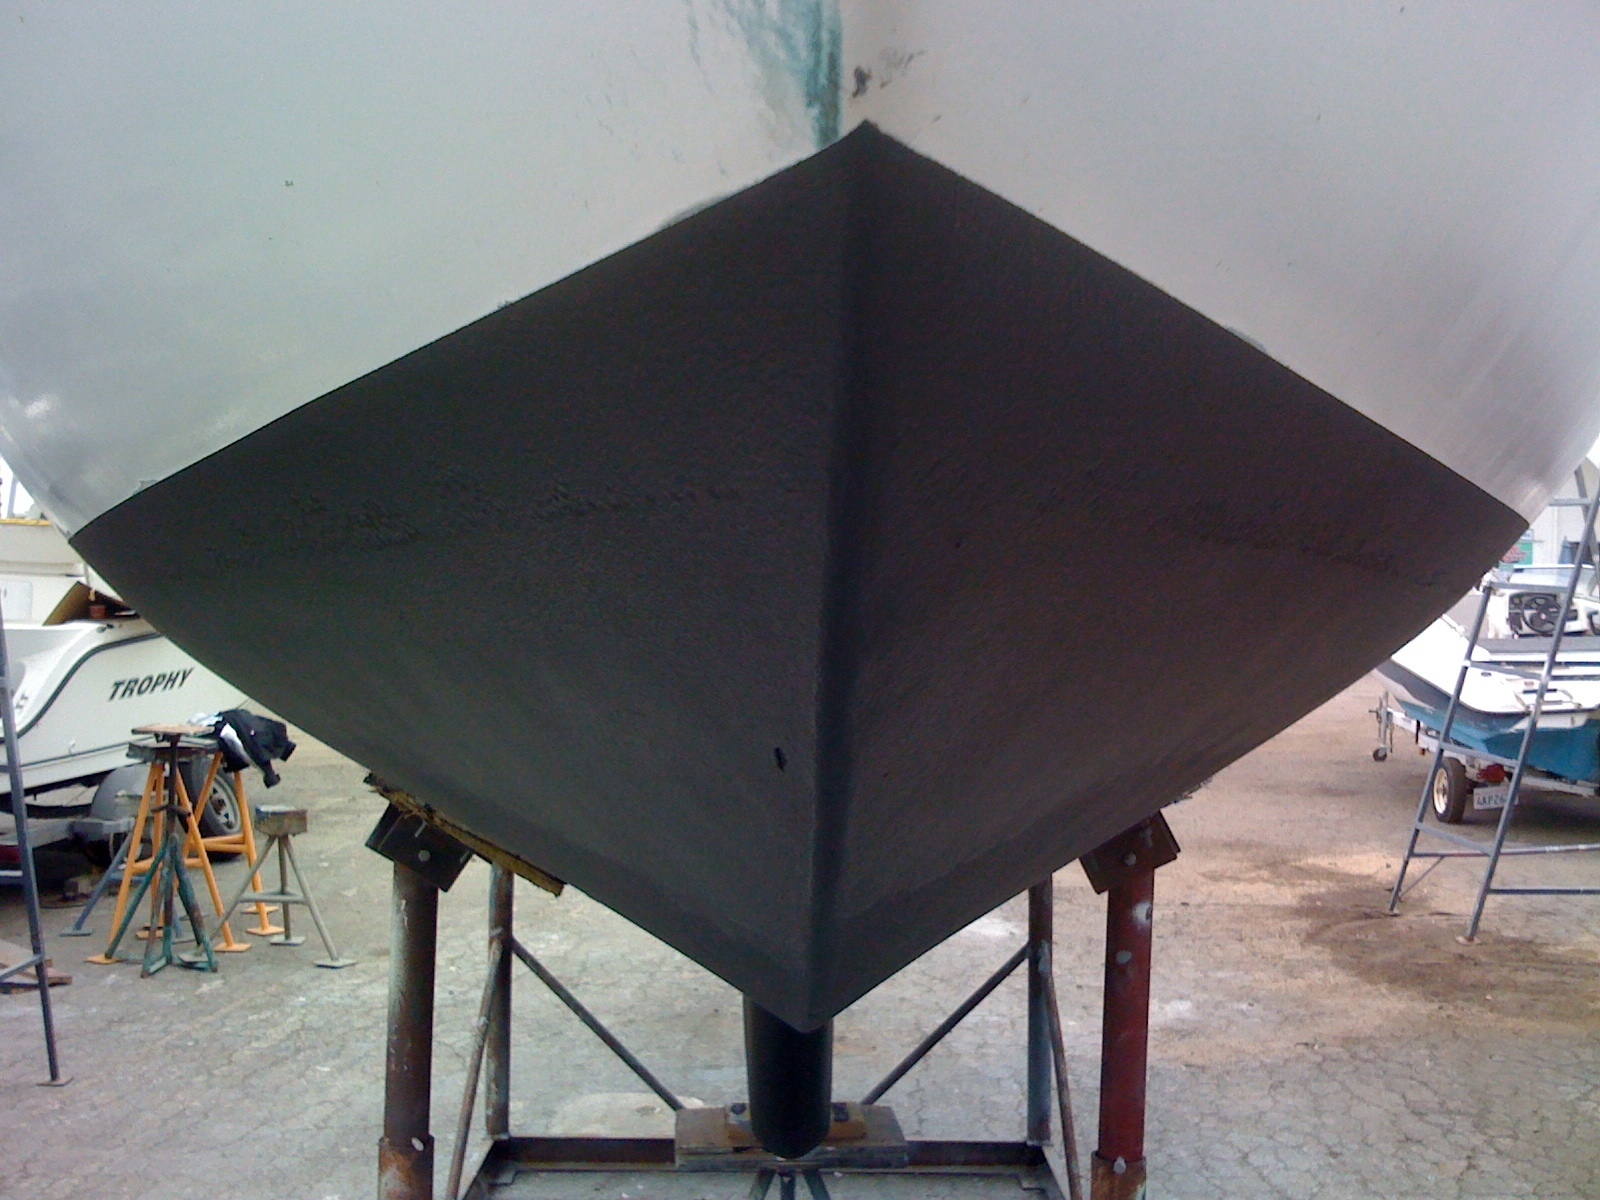
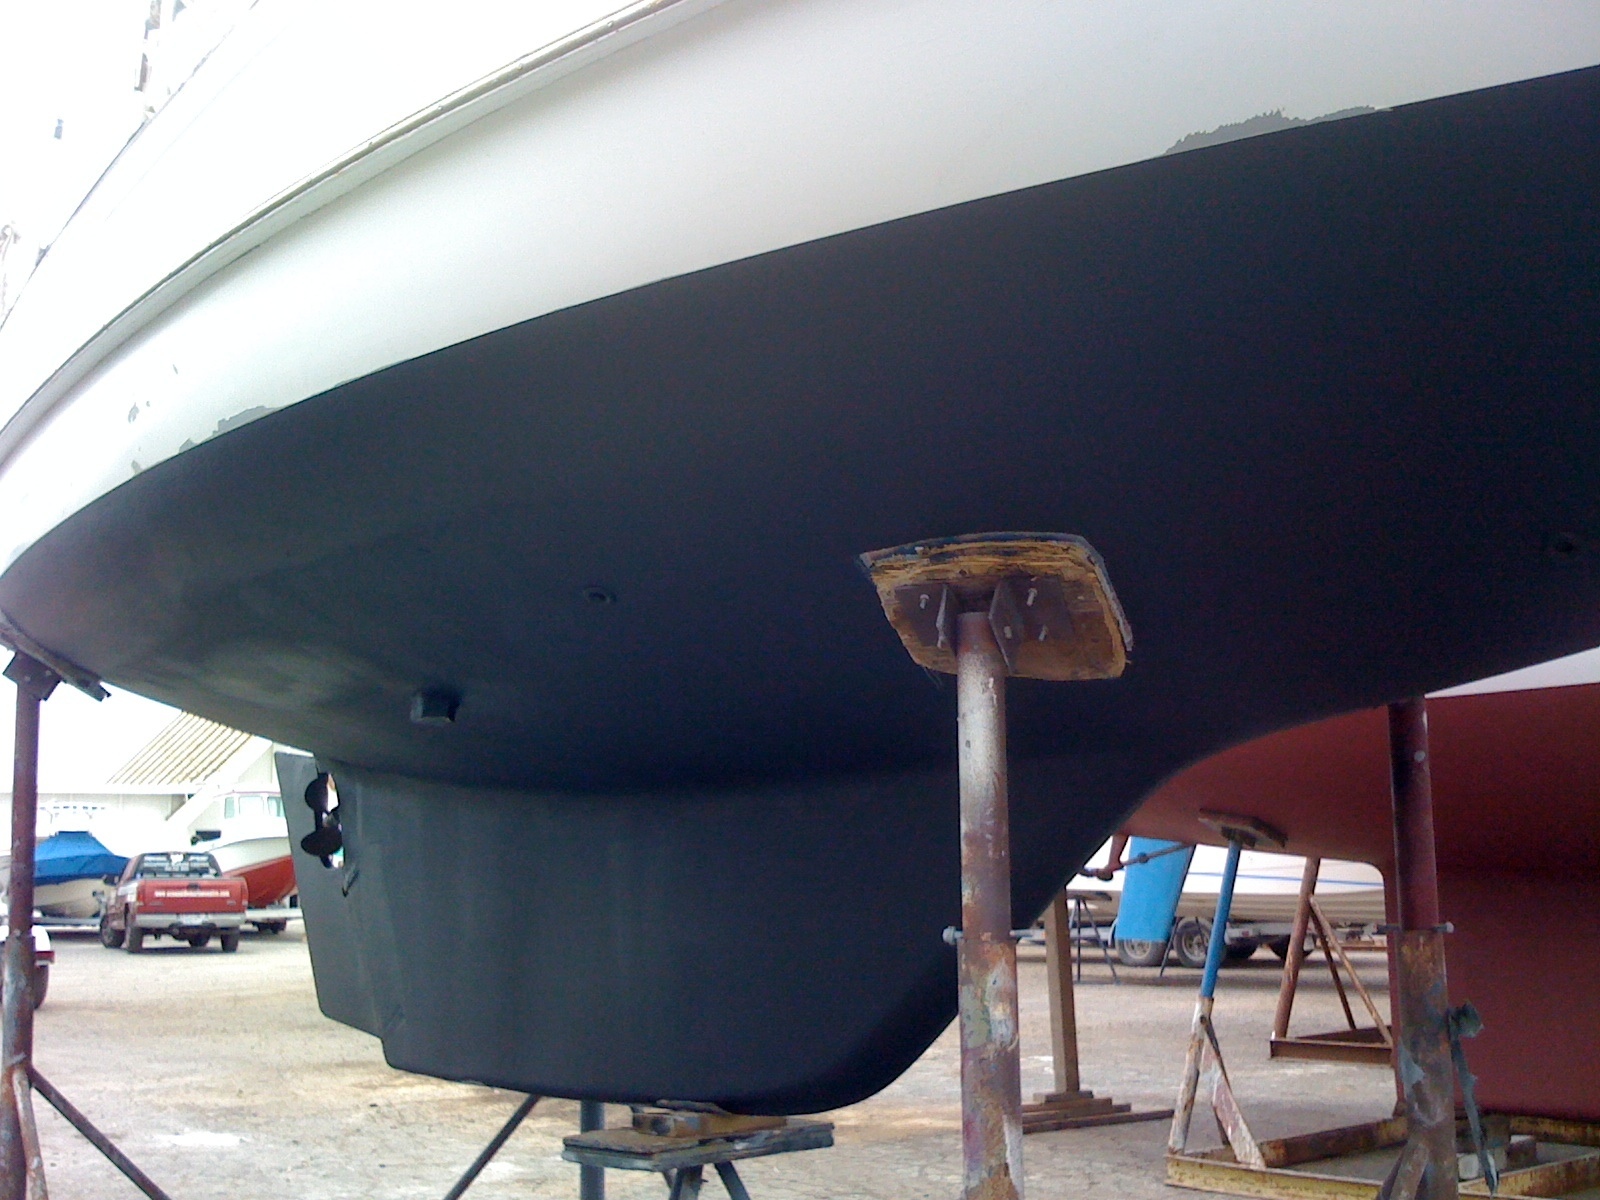
A few close ups of the hull…

Then we started applying three coats of Interlux 2000e epoxy barrier coat; alternating between white and gray.
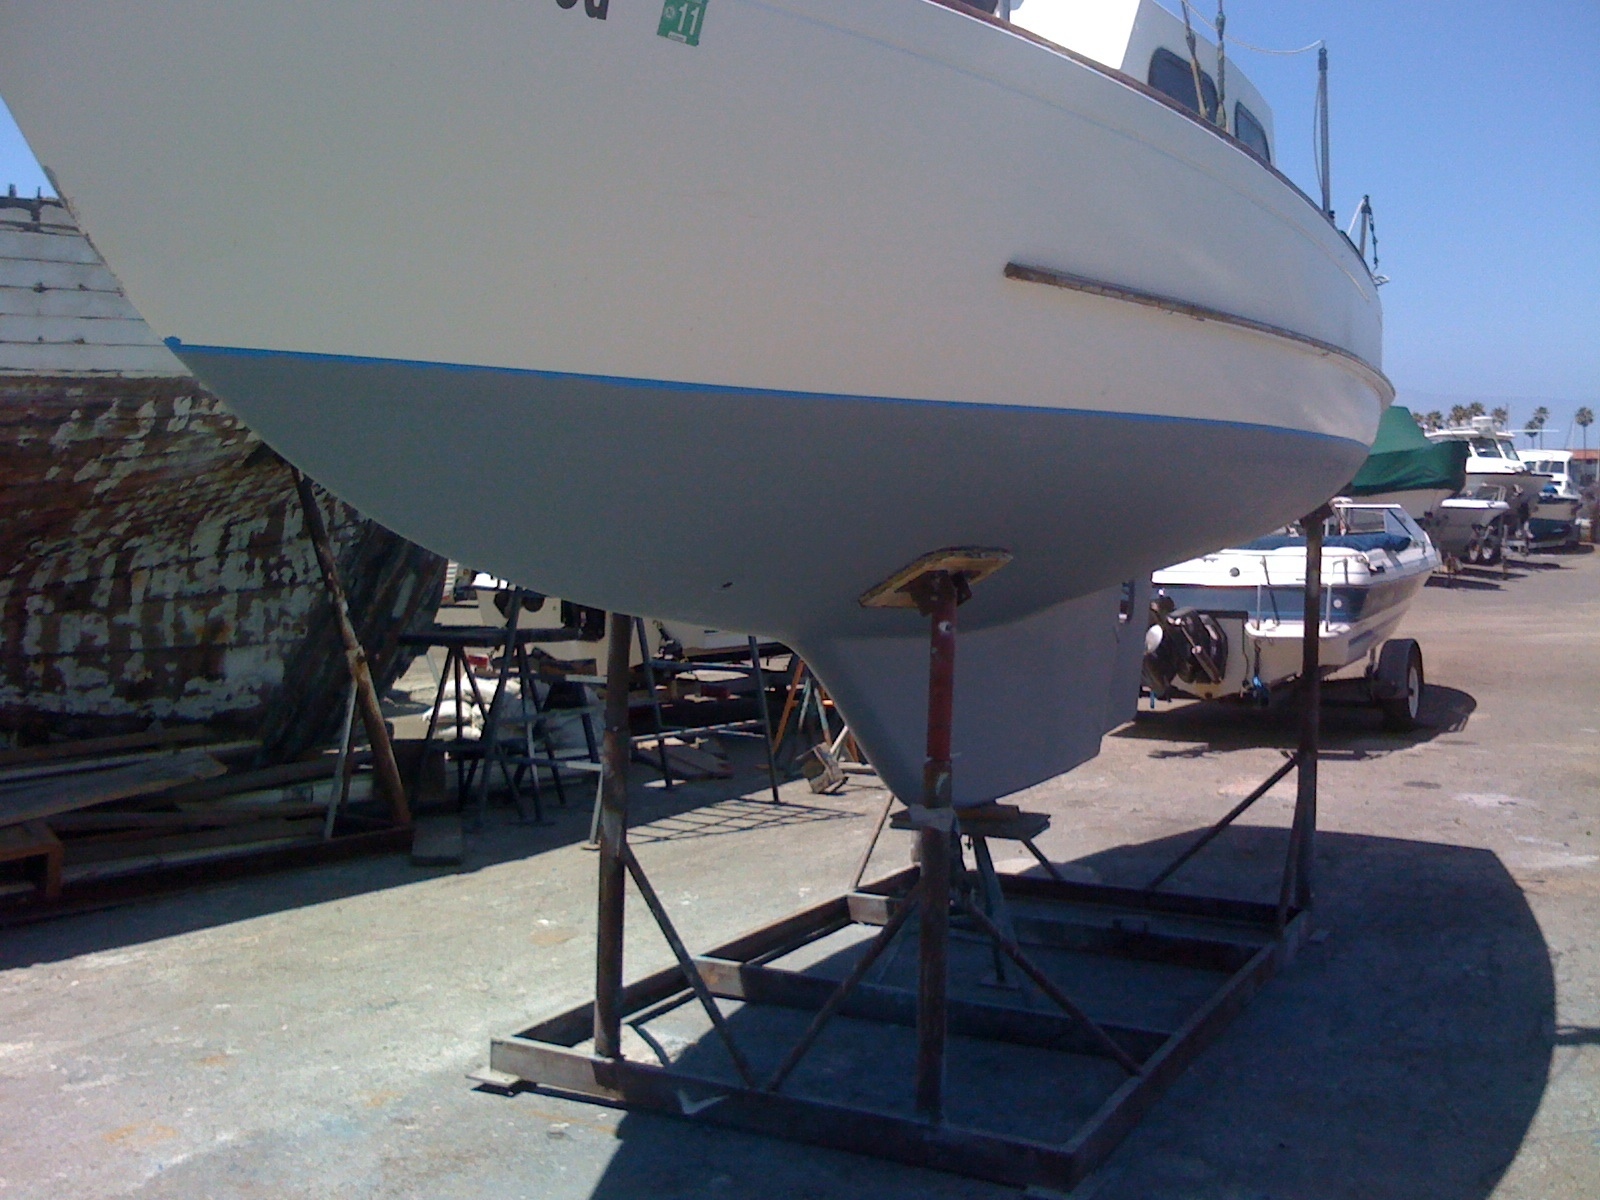
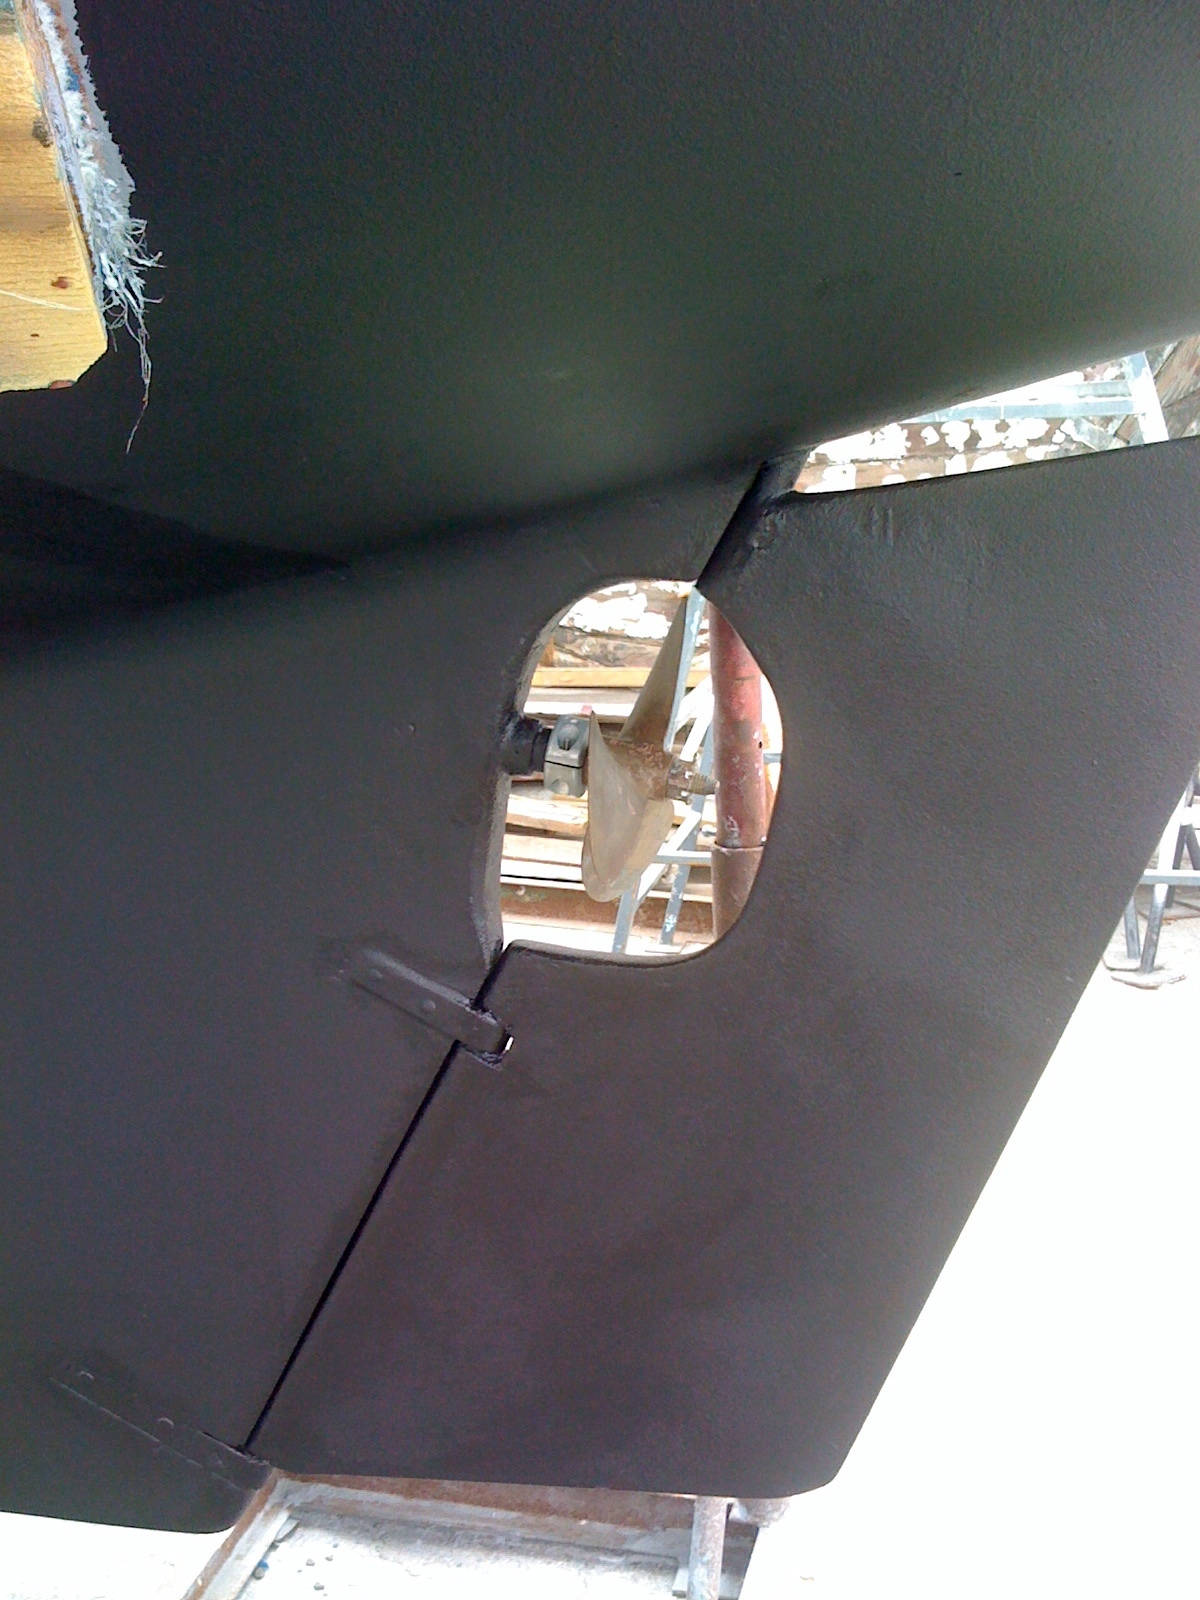
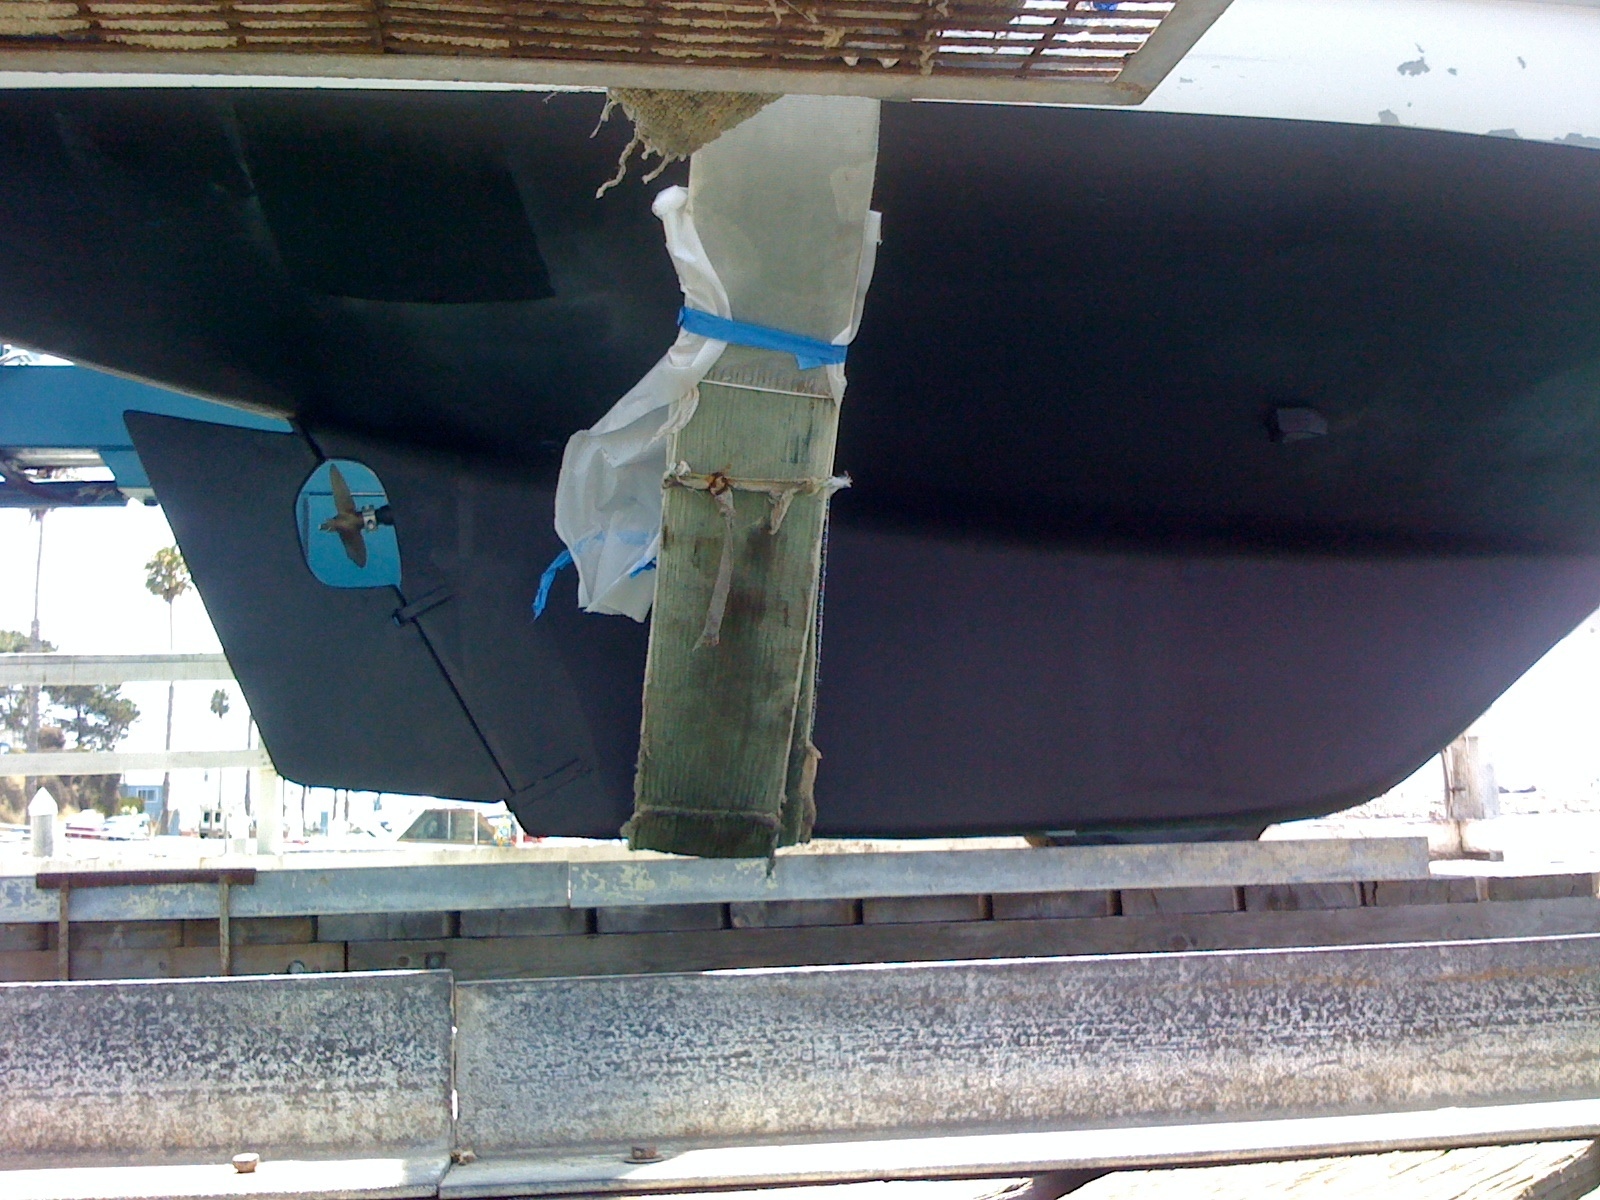
Here is what it looked like when all done. Three coats of epoxy paint and two layers of Interlux Ultra anti fouling paint; fresh zinc and the three bladed bronze prop (which Advanced Restoration also soda blasted clean and shiny).
All done! No longer a drifting sponge, she’s a sailboat once again!!!
Heading back to her element…
And ever so delicately, she gets splashed!
Some final thoughts a year later: I hire a diver to clean the hill every month and they report that the bottom looks great.
As a side note, the day it went back into the water I obviously went sailing! And equally as obvious there was a vast improvement in performance…so much so that in my exuberance, I popped the starboard upper shroud! Well, I didn’t loose the mast as I tacked as I had sea room and I was able use a spare halyard to support the deck-stepped mast. I lowered sail and motored back to the dock. I’ll keep you informed as the third phase of this restoration project takes off this fall: Dropping the mast and replacing all standing rigging; adding fore and aft lower shrouds; moving all chainplates to the hull and removing the through-deck fittings; new sails, et cetera, et cetera…

This is an email that I received about this post.
hey john got the email link off your blog .. thanks for posting the pics …
interesting that you are a butler .. my best friend Dave is also a butler and owns a 108 year old sailboat the Witchcraft with as you might imagine a loooong history .. I built the web site for her a while ago and have been busy and haven’t got it updated in a while (he’s simi-pissed at me about that LOL) take a look at http://www.theyachtwitchcraft.com if you like.
as for the soda blasting .. WOW thanks for the pics .. think my job is gonna go a lot slower than yours .. as I am doing it my self ..
starting off on a 11 ft boston whaler to get practice then moving to an 18 ft 1961 lone-star and then the flat-deck 24 “puffin” . somewhere in that mix I got to do dave’s 14 ft 190 MFG …
mean while I am rebuilding a 1935 house on the bay where we live on the Chesapeake .. and as I have very little money, its all “do it your self”. I am 68 and in remarkably good health and all this work keeps me that way I think.
as for your dream … man do it .. us armchair sailors need inspiration … I’ve had 2 41 ft columbia’s in the passed with that idea but life interfered and I have compromised a bit by getting a place on the bay and a much smaller boat to sail on the Chessie …love the 24, it seems perfect for up here as it only draws 3’4″ and can come up to my dock (which is shallow ) as mine is a flat deck model I cannot stand up inside but can live with that .. my next job on her it to replace the chain plates and part of the bulkheads they mount to .. giving thought to moving them out to the hull and remounting them with a bit more support .. thoughts?
enjoyed checking out the pics on the blog ..
so far have read the beer is for breakfast part of your blog .. I too married a younger woman .. only 10 years younger but younger still and she was from another country as well .. that was 38 years ago … so far we are hanging it there .. also was divorced from first wife and remained friends .. so we have a bit in common … have been broke and out of job tho not quite as long as you . was down right scary .. any way nuff of that .. will be reading more of your blog ..
what kind of engine is in your boat .. mine only has the well for outboard .. thinking of going electric hybrid as will be mostly on the bay up here ..
john dodd
—
My new favorite quote
“The last thing you want to is to be sitting on your death bed with all your dreams standing around asking, why you taking us with you ? … so many people do that … so many people think your dreams have deadlines… but they don’t” … L.L. Cool J … july 8th 2012
I love seeing such impressive transformations!